Home Assistant Setup Guide
Connect your display to Home Assistant, then choose the entities for your dashboard. No YAML editing is required.
What you need
- Home Assistant 2025.11 or newer
- A display with HomeTiles installed
How It Works
The Bridge shares Home Assistant data with the display and handles commands from your tiles. Both connect to the same MQTT broker.
Step 1: Set Up An MQTT Broker
If you already use MQTT in Home Assistant, continue with Step 2. On Home Assistant OS:
- Open Settings → Apps → Install app and install Mosquitto broker. Older Home Assistant versions call Apps Add-ons.
- Start it and enable Start on boot and Watchdog.
- Under Settings → People → Users, add a user such as
hometiles, with a password. Mosquitto accepts these Home Assistant credentials. - Open Settings → Devices & Services and confirm the discovered MQTT integration. If necessary, add it manually with broker address
core-mosquitto.
For other installation types, connect Home Assistant to your existing or separately installed broker. See the official MQTT setup.
Step 2: Install The Bridge Integration
- In HACS, open Custom repositories from the menu.
- Add
https://github.com/GalusPeres/HomeTiles-Bridgeas an Integration. - Download HomeTiles Bridge, then restart Home Assistant.
Without HACS, copy custom_components/tab5_lvgl from the Bridge repository into Home Assistant's custom_components directory and restart.
Step 3: Get The Display Online
On the display, open Settings → WiFi, select your network, and enter its password.
Alternatively, tap Enable AP, connect to the hotspot using password 12345678, and enter your WiFi details in the captive portal.
Step 4: Pair The Display
A display without saved MQTT credentials announces itself on the network.
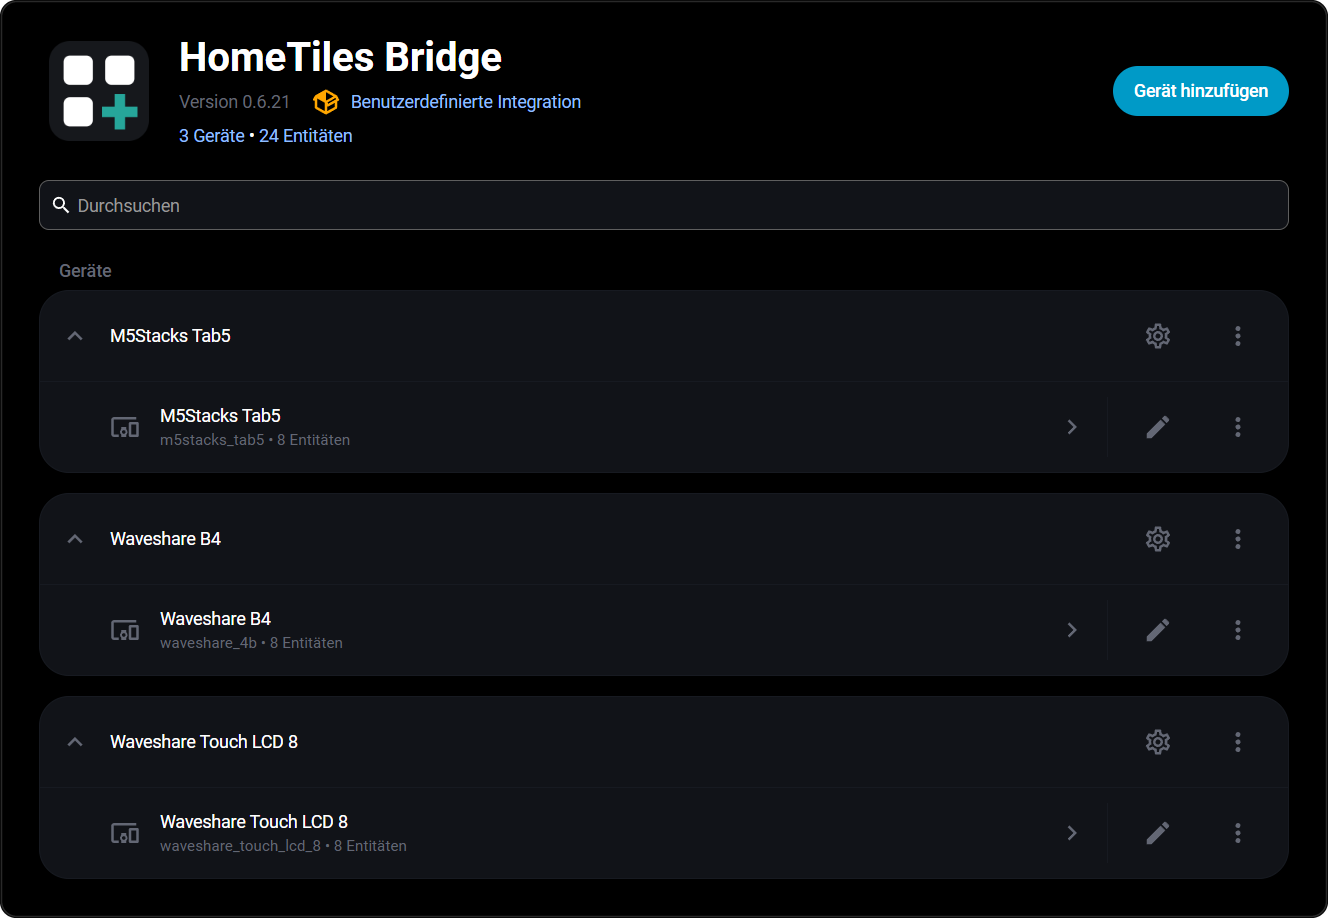
- Under Settings → Devices & Services in Home Assistant, open its discovered card.
- Check the proposed broker address and port, then enter the MQTT username and password from Step 1.
- Keep the suggested unique base topic and confirm. The Bridge sends these settings to the display.
Set up without discovery
If no discovered card appears, use Settings → Devices & Services → Add Integration → HomeTiles Bridge to add the panel manually. Keep the default base topic and HA prefix for your first display.
Open http://<display-ip>/ and go to Settings → MQTT. Find the IP in the display's WiFi settings.
- Host: your broker's network IP address. With the Mosquitto app, use the Home Assistant machine's IP, not
core-mosquitto. - Port:
1883, unless your broker uses another port. - Username / Password: the broker credentials from Step 1.
- Device topic base / Home Assistant prefix: use the values from the Bridge entry.
Select Save. The display reconnects to MQTT with the new settings.
Step 5: Choose What The Display Can See
Open HomeTiles Bridge → Configure → Entity Configuration and select the entities you want to use. Selections are shared across all displays.
For Energy tiles, also enable the corresponding electricity, gas, or water category under Energy Dashboard. See Bridge configuration for the available options.
Step 6: Build Your Dashboard
Open the display's Web Admin, add tiles, and assign the selected entities. Changes appear on the display immediately.
Optional GPIO switches, relays, and temperature inputs are configured separately on the panel's I/O tab.
Multiple Displays
Pair each additional display in the same way. Every panel needs a unique Device topic base; the HA prefix stays the same. Pairing handles this automatically. For manual configuration, see Panel Settings.
Troubleshooting
If pairing fails or entities remain empty, follow the connection and pairing checks. A previously paired display can announce itself again through Settings → System → Pairing.