Screensaver
Create a separate layout with a clock, tiles, and an optional image slideshow in the Web Admin's Screensaver tab.
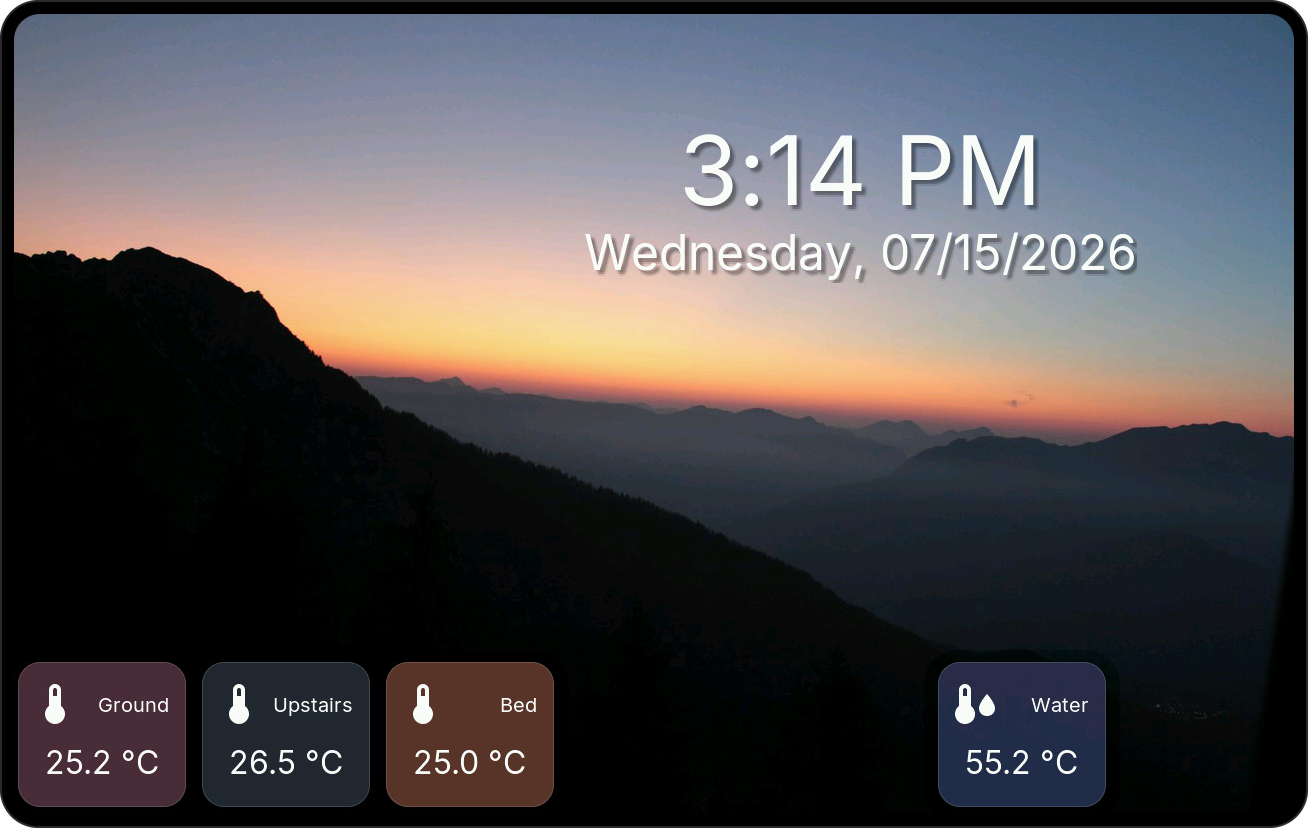
Open It Manually or Automatically
- Tap a Clock tile to open it immediately.
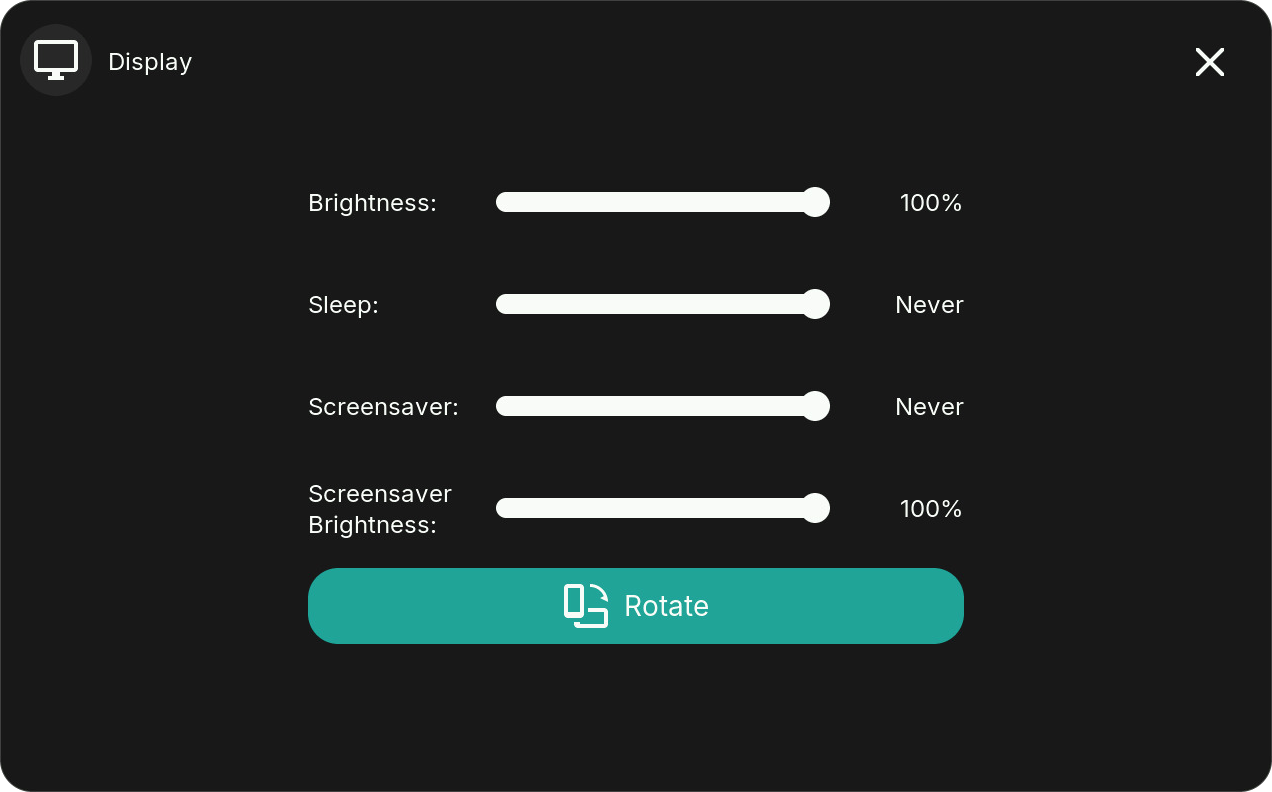
- Set an inactivity timeout under Settings → Display → Screensaver. Never disables automatic activation.
- Use Screensaver Brightness for separate screensaver brightness; the display previews the level while you drag.
- Tap free background space to return to the dashboard.
Prepare the microSD Card
A slideshow needs microSD support. The Waveshare S3 LCD-4 Rev 4.0 and S3 LCD-4B profiles cannot use SD images. The clock and tiles work on a black background without a card.
- Format the card as FAT32 and insert it.
- Create an
imagesfolder in the card's root (/images). - Copy your JPEGs there, or upload them with the Web Admin file manager.
- Open the Screensaver tab. New images are added to the list, and deleted files disappear from it.
Image Requirements
- Export baseline (non-progressive) JPEG, with a
.jpgor.jpegextension. - Use RGB/sRGB, not CMYK.
- Resize to your display's resolution in the device list. For a shared image set, keep the longest edge at 1920 pixels or less.
- Use quality 80–90 and keep each file below 8 MB.
If an image stays black, re-export it at the display's native size with these settings. A large camera photo or progressive JPEG may fail even if the filename ends in .jpg.
Configure the Slideshow
In the Web Admin's Screensaver tab, click the background.
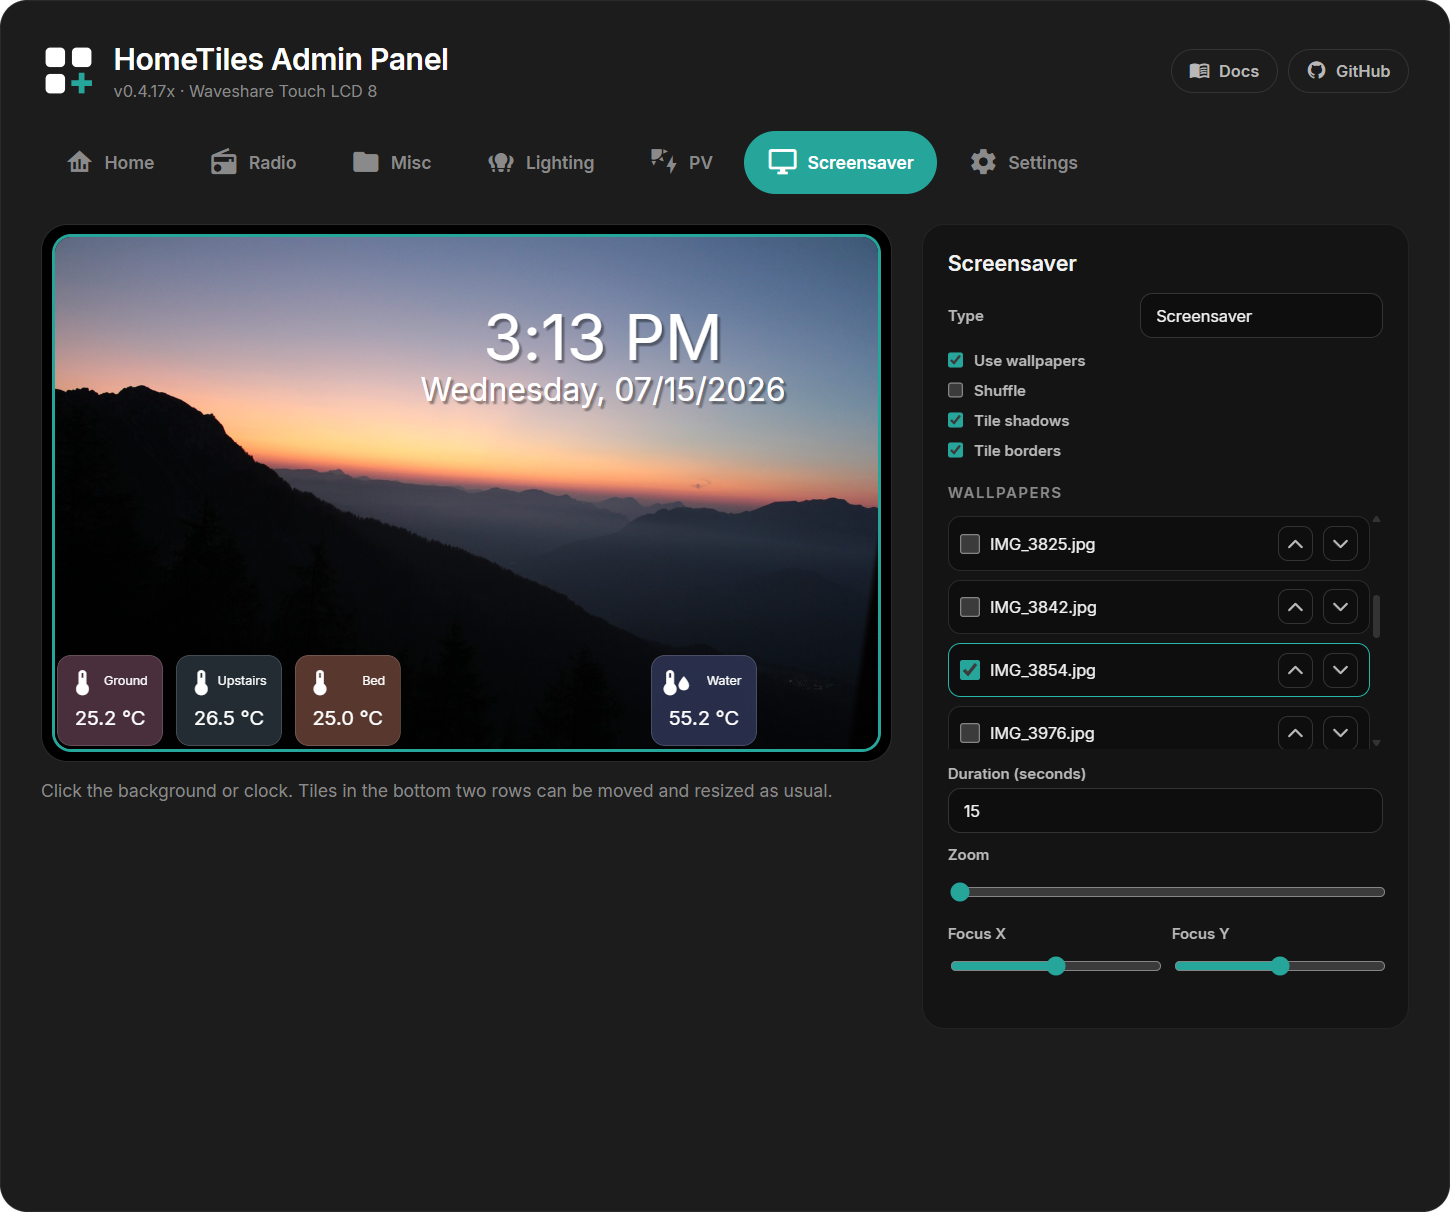
| Setting | What it does |
|---|---|
| Use images | Enable the slideshow instead of a black background |
| Shuffle | Choose images randomly |
| Tile shadows / Tile borders | Style the overlay tiles |
| Image checkboxes | Include or exclude files |
| Arrow buttons | Change the image order |
| Duration | Display time for every image |
| Zoom | Enlarge the selected image |
| Focus X / Focus Y | Move its crop horizontally or vertically |
Changes save automatically.
Position the Clock
Select the clock to change its time/date formats, font sizes, alignment, and shadow. Drag it anywhere and resize its text area; it is independent of the tile grid.
Add Tiles
The bottom two rows support Sensor, Binary Sensor, Energy, Switch, Scene, and Media tiles. Select a slot, choose its type, and move or resize it as on the dashboard. Adjust Color and Opacity together.
States stay live. Popups do not open in screensaver mode. Local I/O switches and temperatures remain available when Home Assistant is offline.
Media tiles need at least 2×2 cells. Cover art can slow entry and slide changes; use fewer Media tiles if the slideshow feels slow.
Backup and Restore
Web Admin Export includes the screensaver layout and settings. Image files stay on the microSD card and must be copied separately.