Firmware Updates
Normal updates keep your Wi-Fi, MQTT settings and dashboard. Keep the display powered until installation finishes, then check the version under Settings → System.
On-device updater
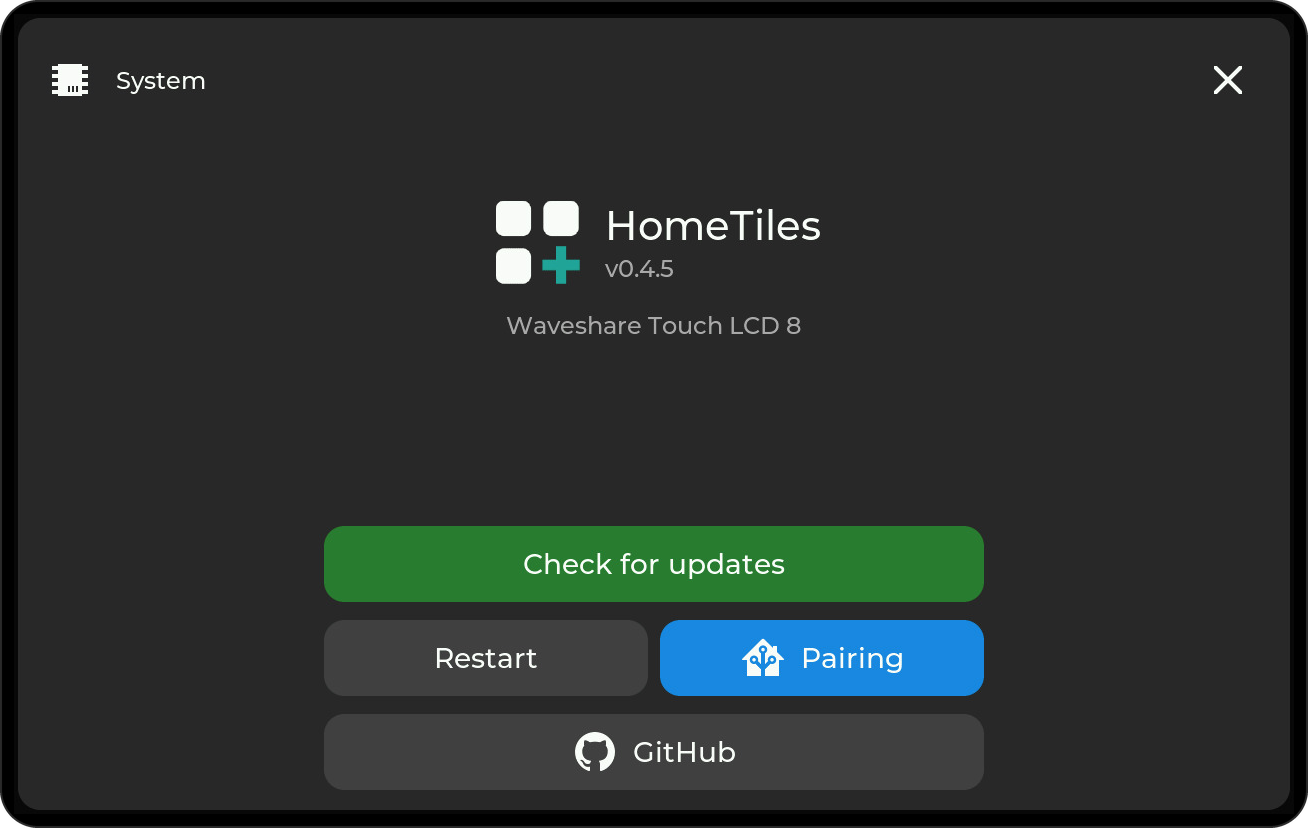
Open Settings → System, tap Check for updates, and install the offered version. The display restarts when finished; Web Admin and MQTT reconnect automatically.
Web Admin upload
Use this method for a local test build or when downloading directly on the display fails.
- Download the exact model's plain
.binfrom the release page. Do not select_factory.bin. - Open
http://<display-ip>/and find Firmware. - Choose the file and start the upload. The screen may go black during installation; wait for the display to restart.
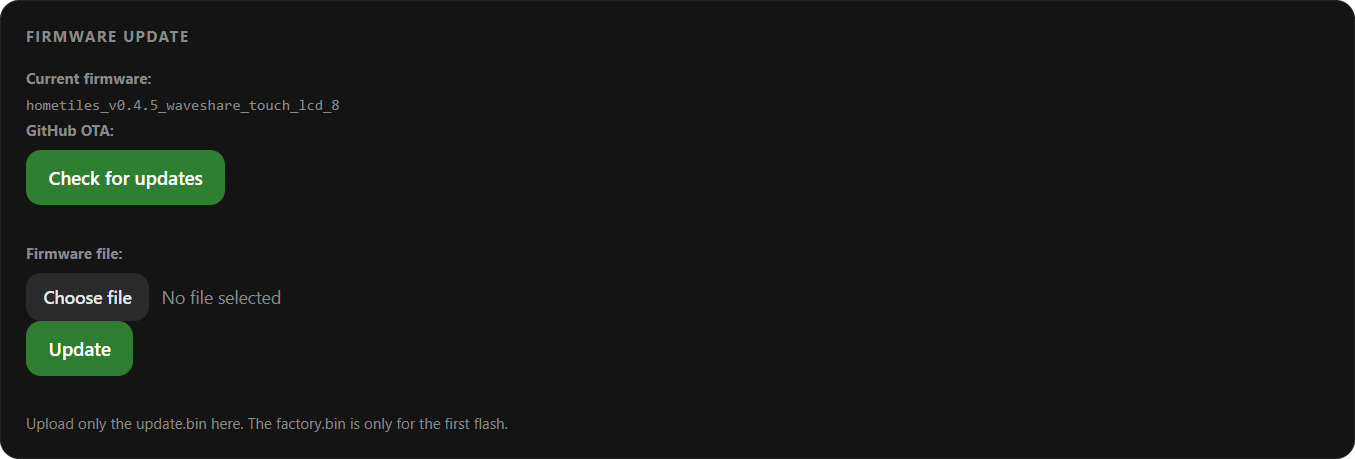
Check exact model, revision and known limitations in the device list. The Web Admin can also run the same release check as the display.
USB update
If the display is unreachable over the network, open the online flasher and choose Update. It preserves local settings and writes only to the inactive application slot.
For a new device or an intentional full reset, use First install / factory reset there instead. This erases all local data.
Going back to v0.6.x
The display only offers newer versions, but you can install an older release with the Web Admin upload. v0.6.x does not know half-size tiles: a half tile appears at whole size and can overlap its neighbor. Prepare the dashboard first:
- Back up: use Export in the Web Admin and keep the file.
- Make every tile whole: give every tile a whole position and size (no 0.5 values), and arrange the tiles so they do not overlap. This includes back tiles in folders, Climate tiles with a height of 1.5, and the tiles in the screensaver.
- Upload the older model's plain
.binin the Web Admin.
Colors, rules, icon circles, the tile radius, and camera settings need no preparation. v0.6.x ignores them, and they return when you update to v0.7.0 again, as long as the tiles keep their places in between.
An export that contains half-size tiles cannot be imported in v0.6.x. Export again after step 2 if you want a file for the older version.
If an update fails
Restart the display and retry once. If a direct GitHub download still fails, use the Web Admin upload above. The updater may restart more than once during recovery; check the installed version afterwards. An interrupted normal update leaves the previously selected application bootable.
If it still fails, download the diagnostics and report the problem. For the Guition JC8012 V1 Camera/Web OTA fix, see its note in the device list.
To build your own firmware, follow CONTRIBUTING.md.